
Well, when I went through the Dropbox approval process, I realised that this could be a bit smoother … so I developed a new one, with the images held on this site.
The main things I’ve tried to sort out are :
- I’m often asked to ‘provide all the images’, but it’s a real drag to trawl through (maybe) 200 reloads
- You have to work through all of the Dropbox every time – it doesn’t remember where you were up to.
So this process remembers which images you’ve already chosen or rejected – you don’t have to start again from scratch.
Image Approval Process from Drew Kirkland on Vimeo.
Getting access
I’ll let you know a gallery link, a user name and (by a different route) a password. This won’t be very secure, and you can change it if you want (see the “User Profile Screen” section at the bottom of the form).
You can user the link to get directly from the page, by selecting “Client Galleries” from my main menu. You’ll be asked to sign in before you can see the galleries.
But here’s a summary …
All of your image choices will be remembered – even if you sign on from a different device.
The Icon Bar

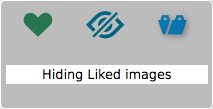
Under each image is an icon bar. The first icon (the ♥️ )shows if the image has “like” status – these are the photos you’d like me to process later.
When you click on this, the icon changes colour, to show it’s selected

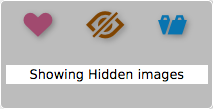
The second icon is the “hide” icon. Clicking this will remove the photo from the screen (you can get back to it – more of that later). When you do show these images, again, the colour will be have changed :

The Filter Bar
At the top of the screen is a bar to control which images show on the screen.

These are the default settings – they’ll show unflagged and chosen images
You can click the “heart”icon to hide the photos you’ve already chosen (click again to bring them back)
 Or you can click the “hide” icon, to show the hidden items.
 Or you can hide the items you’ve not flagged yet (maybe to just show your choices).
 Your last filter settings will be remembered when you reload the page.
Comments

The last icon on the image icon bar is for comments – you can enter comments, or see which images other people have commented on – the icon turns yellow.
This is really for any suggestions or questions – the comments only show to other users.
The comments screen is quite intuitive, but you can see it in the video (starting at around 3 mins).
Mobile use – warning
Image files can be quite big, so be aware that if you download a gallery on your phone, then it can
- Fill up your phone’s storage and
- Use up your data allowance if you’re downloading over the phone network).
(connect over wifi and this last one shouldn’t be a problem)
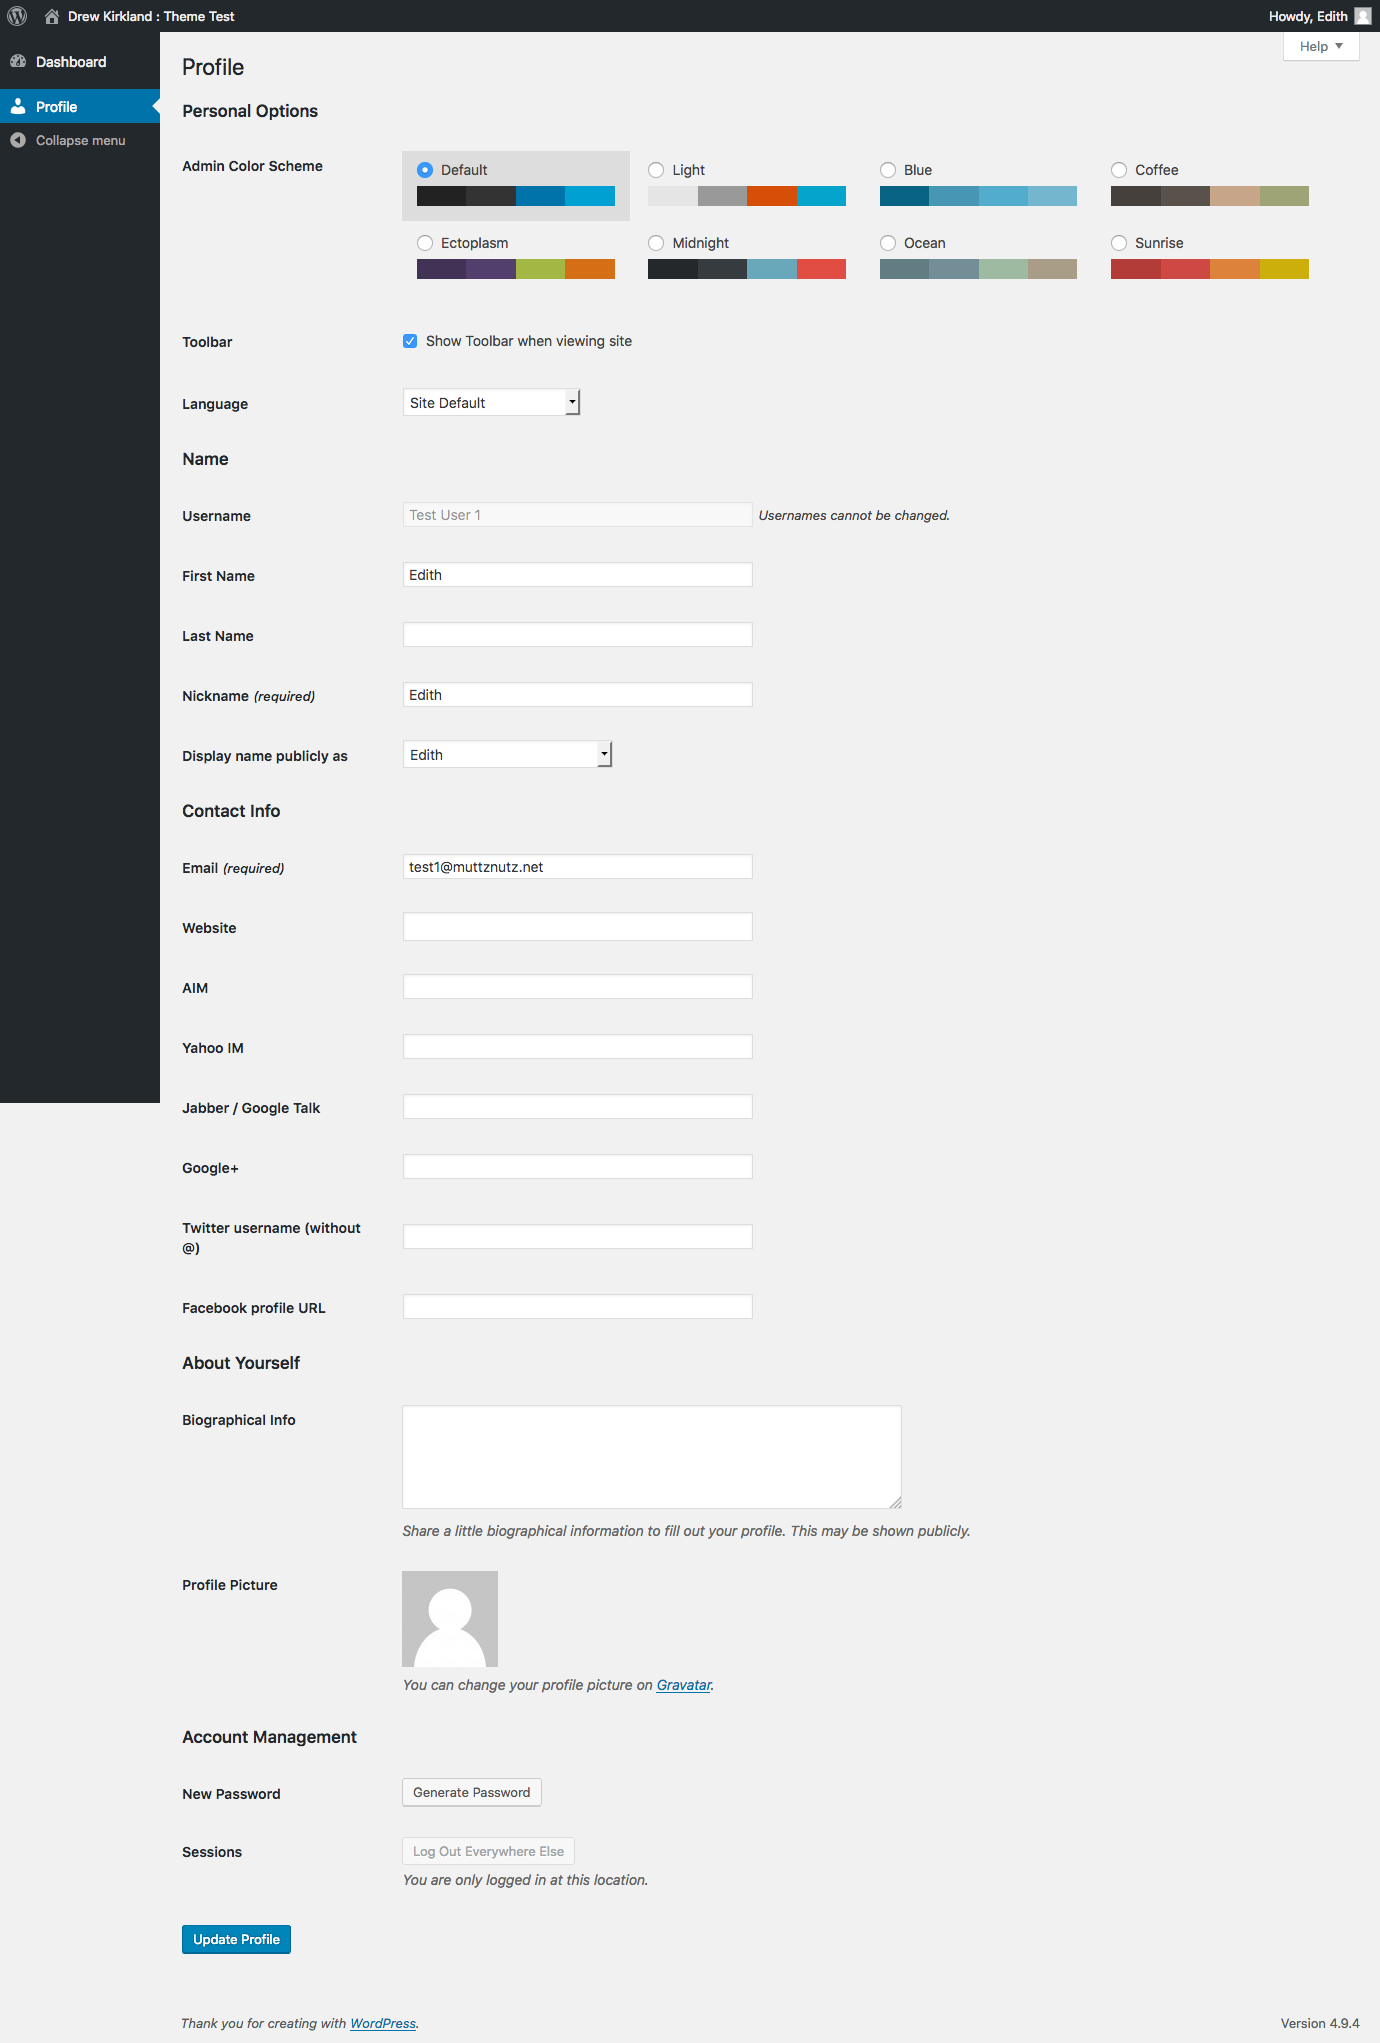
User Profile screen
The last screen you may end up in is the user profile screen.
This is a default screen, and I do need to cut it down a bit sometime (but … add in an Instagram profile !).
You can change your password here (at the bottom of the page), or enter contact details if you want (I won’t show them to anyone else).
To get back to the main site, click on the “Drew Kirkland : Photography” link at the top left of the page.
Future developments
I know this isn’t perfect, and I want to see if it works before I develop it more, but I do plan to build :
- Mobile optimisation – it kinda works on phones, but the formatting isn’t great (this shouldn’t be too difficult, actually).
- Single image display – I want to develop the “lightbox” so that you can like or hide images from there.
Also – to exclude hidden images from that display.
This is quite a bit more of a commitment. - Comment alerts – I’d like to put some code in to alert you to new comments – or comments you’ve not seen. I need to think about how this’ll work when things settle down.
Video
The demo video was made using the same (remote) server as my production website.
Connection is over fibre broadband.
Caches were cleared before the video started, so it should be realistic.